
Macro Photography in Costa Rica: Field Techniques for Small Subjects
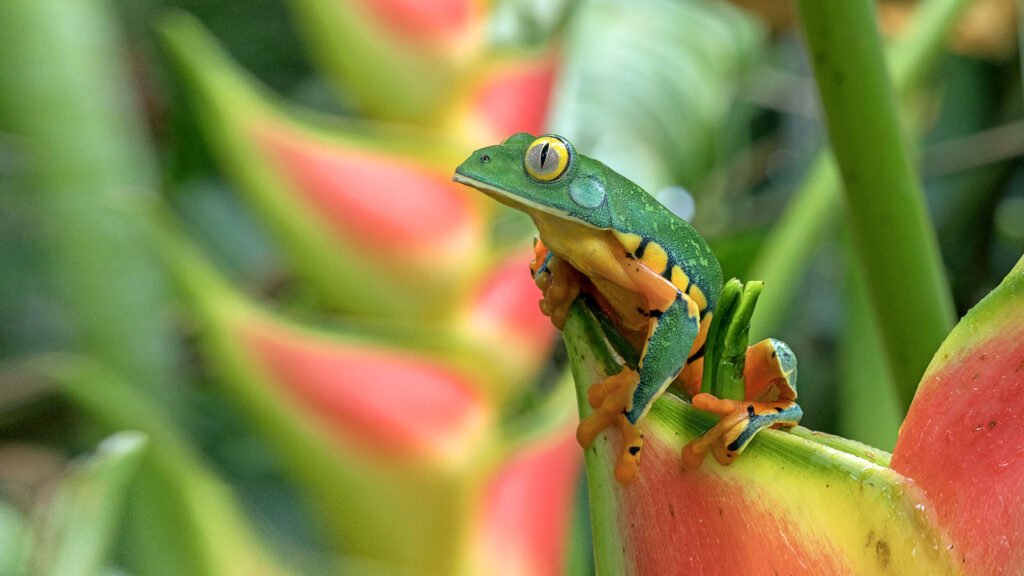
Featured photo: Frog’s Heaven official photograph. Reproduced with permission. Illustrative photograph of the destination or subject; it does not represent every provider or imply a recommendation. Resized; thumbnails may be cropped.
Macro photography in Costa Rica is an opportunity to slow down. A leaf’s texture, a small insect or a detail on the forest floor can become the subject of an entire session. The challenge is to work close enough for detail while keeping the subject and its surroundings undisturbed.
Start with subjects you can study safely
Begin with leaves, bark, flowers or an animal resting naturally where you can observe from a permitted path. A guide can help you find subjects and understand where you may stand. Do not reach into vegetation or handle an unfamiliar animal for a photograph.
Research local experiences such as Frog’s Heaven and Maquenque Wildlife Spots. Ask whether the session involves free-living animals, captive subjects or any handling. Choose an experience whose methods match your standards and describe the conditions honestly in captions.
Working distance matters
A macro lens can let you focus closely, but minimum focusing distance is not the same as the gap between the lens and the subject. Check how much space remains in front of your lens. A longer working distance can make lighting and careful positioning easier.
You do not always need maximum magnification. A slightly wider view can preserve habitat context and make it easier to keep the important parts sharp. Use the equipment you already know before committing to additional accessories.
Control the plane of focus
At close distances, depth of field becomes very shallow. Try to align the camera with the feature that matters most, such as an insect’s eye or the surface of a leaf. Review a magnified image to check the result.
A smaller aperture can increase the depth in acceptable focus, but it also changes the amount of light needed. Balance aperture, shutter speed and ISO rather than simply choosing the smallest opening. Nikon’s macro lens guide explains why close work makes depth of field especially limited.
Manage movement before adding light
Your body, the subject and the leaf beneath it may all move. Brace yourself safely or use support when there is space on the trail. Avoid leaning on plants or placing tripod feet where they damage vegetation.
For a moving subject, choose a shutter speed that gives you a reasonable chance of sharpness. For a still subject, manual focus and small changes in your own position may offer better control. Focus stacking is most practical when both the camera and subject remain still; do not restrain an animal to make it possible.
Keep lighting gentle and permitted
Available light can reveal texture beautifully. A reflector or diffused light may help in some situations, but first check the site’s rules and the guide’s advice. Avoid repeated bright illumination of animals, particularly during night sessions. Stop when a subject shows signs of disturbance.
Inspect shiny surfaces and wet leaves for harsh reflections. Changing your angle may solve the problem without changing the habitat.
Build a field routine
- Find a safe position on an authorized route.
- Choose the main feature and inspect the background.
- Set exposure for the movement you observe.
- Make a few frames and check focus.
- Leave the subject and surroundings as you found them.
Carry rain protection and keep your bag closed between lens changes. Plan time to dry and organize equipment after humid sessions. For organized travel, explore Physis Photo Tours and explain whether you prefer insects, botanical details or other small subjects. No itinerary guarantees a particular encounter.